Category Archives: Vanagon

A long search is over.

I have been keeping an eye out for a used pop top for my Vanagon almost since I bought my van. One showed up at my local junkyard and I was able to pull it with the help of a friend. I had no idea it was going to be that heavy, it’s fiberglass.

It’s in okay condition but I’ve taken on a bit of a project to fix up and install this in my old tin top Vanagon.

Vanagon Air Controls

20151230_092543

I ended up making a little reference plate for my Vanagon’s Air controls. For those of you who don’t know the controls that the Van has can be a bit cryptic and this little reference plate simplifies the matter. I got the idea from a post on The Samba and have included it in the references section bellow. The CAD file as well as a pdf of the nameplate can be downloaded as well. You just have to find a nameplate engraver and you’re good to go.

20160103_153600

Before

20160103_153748And After

Downloads:

AutoCAD File

PDF Drawing

References:

GoWesty’s Article on Ventilation: Heat and A/C in the Vanagon Explained

The Samba Forum Post about Heater Controls

Old Blue’s Blog – Originator of the Cheat Sheet

Master Cylinder Replacement

Did you know that you’re supposed to bleed a master cylinder? This is one of the things I’ve learned in my refreshing and updating of my Van’s brake system.

To do a Vanagon master cylinder properly you need to buy two of the bleeding kits as you need two of the exact same size fitting and every kit I’ve ever seen only comes with a single fitting for every size imaginable.


Here’s the current shape of my master cylinder, as I said in a previous post I went to drive it and found the master cylinder bone dry. I ended up filling it up again to try and chase down the leak.

20151023_171359 20151023_171429


References

http://www.vanagonauts.com/Brake-master-cyclinder190.htm

Brake Line Replacement

This fall I got the Vanagon into running shape and went to take it out for a test drive when I pressed in the brake pedal and it just slammed to the floor, no pressure nothing. I popped the instrument panel cluster and found a bone dry hydraulic system reservoir. I say hydraulic system because the clutch and brake cylinders are run off of the same reservoir. Before I fix the master cylinder I decided to go through the brake system and do some minor upgrades and check for any other potential issues. I started off with replacing all the brake lines with some nice braided stainless steel upgrades.

It’s a fairly simple process at least until you go breaking things.

Tools

  • 14mm Open Wrench
  • 11mm Flare Wrench*
  • Lug Nut Wrench
  • Jack & Supports

*You’re going to need a flare wrench in this application to get those 20+ year old brake lines separated, if you try to use an open wrench you run a high likely hood of stripping the hard line bolt, as I did.

Instructions

  1. Break Lug Nuts Loose
  2. Raise and Support Vehicle
  3. Remove Wheel
  4. Remove one end of flex connector from the hard line. I found it easier to remove the flex line closest to the vehicle first. Now you have options to quickly cap the brake hard line to not loose a bunch of fluid, or in my case I was replacing the master cylinder and I drained out all the brake fluid first for each individual line through the bleeder screw. If you do go with the cap it quickly option make sure to keep an eye on the reservoir level.
  5. Remove the other end of the flex line.
  6. Install the new Line.
  7. If you choose the quick cap option now would the opportune time to bleed that corner of the vehicle.
  8. Re-install the wheel.
  9. Rinse and repeat until finished.

Issues I Ran Into

I ended up stripping one of the 11mm fittings on the hard line located on rear trailing arm of my van. I ended up having to spend a couple hours with a small hand saw removing the old line and then another hour trying to get the slightly small 20″ hard line that I bought from a local autoparts store to work in this application. I had to replace the brake retaining spring due to me damaging it in the sawing action.

20151123_182714

Here’s the shiny new line, clip, and flex line.

References

CV Joint and Transmission Issues

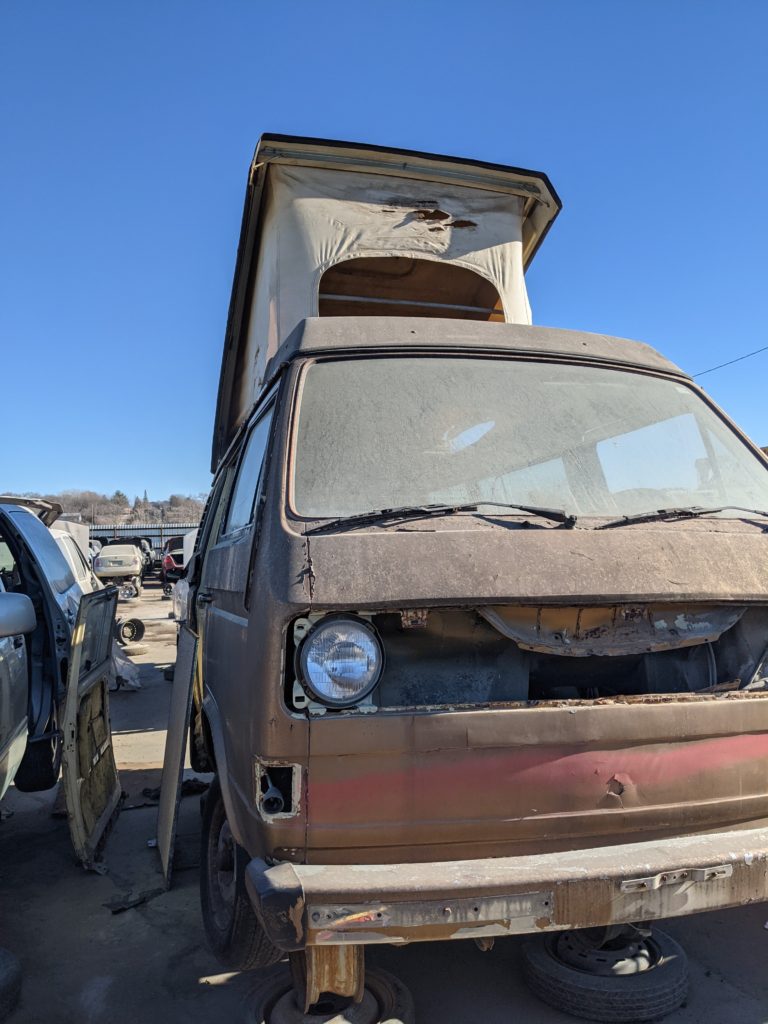
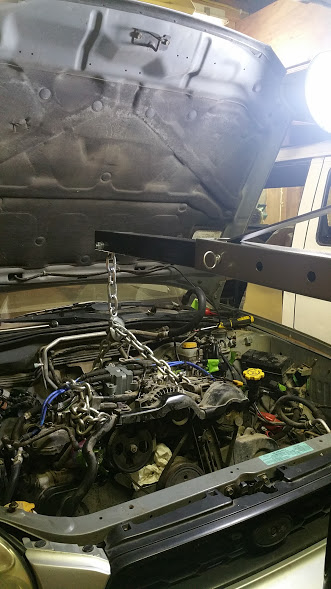
Got the Van back from the glass shop this week and we took it on a little camping trip with the pups.
image

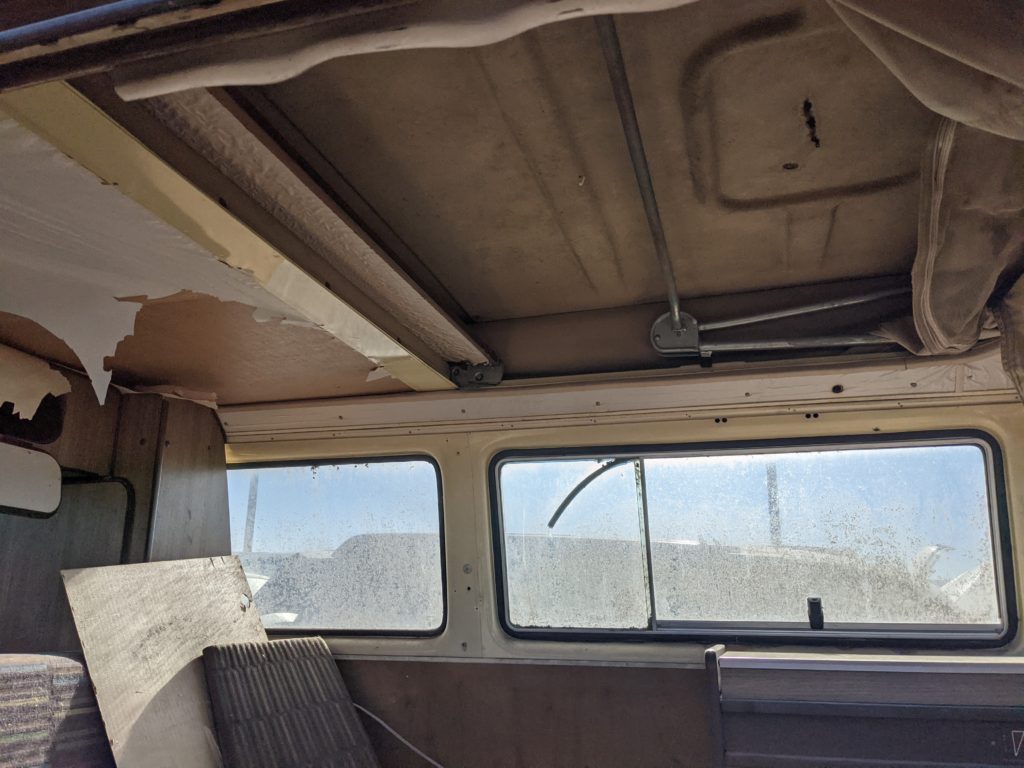
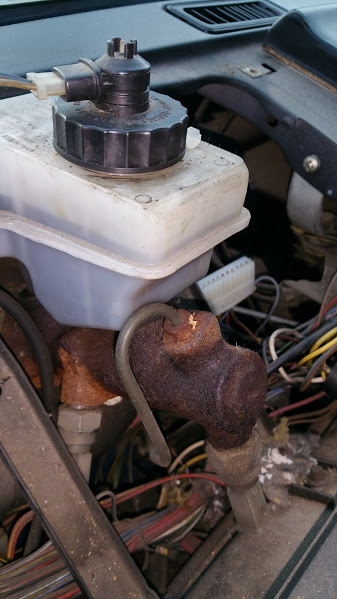
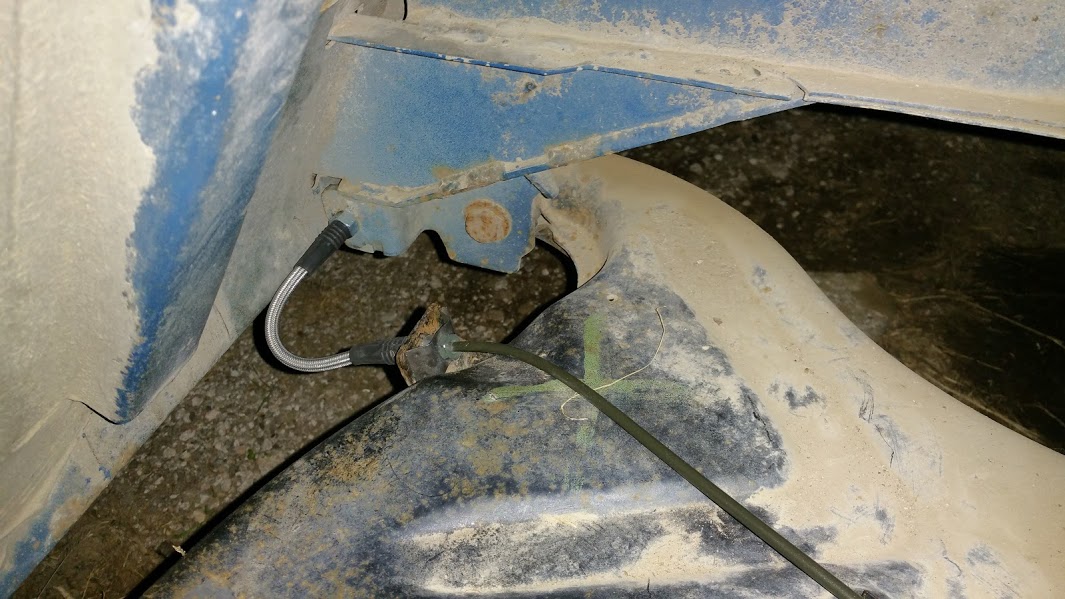
When we got to our destination I noticed we had some grease coming out of our CV joints and the bottom of the transmission looks like its been soaked in goo. So the next thing on the list is to do maintenance on the CV joints and try to pin point the leak from the transmission.

image

Here’s two complete set of instructions for Vanagon CV joint Maintenance.

http://volksweb.relitech.com/cvjoints.htm

http://www.benplace.com/cv_joint_maintenance.htm


Tools:

This kit looks like a good place to start: http://www.gowesty.com/ec_view_details.php?id=23862&category_id=3691&category_parent_id=

And four boots: http://www.gowesty.com/ec_view_details.php?id=24056&category_id=3691&category_parent_id=

wpid-img_20140723_073420.jpg

As for the leaky transmission.

It seems like the first step is getting the transmission open and draining out the fluid, since I don’t know the last time that it’s been done. A majority of sources recommend Red Line MT-90, so that’s what I’ll end up using.

This article goes through the ins and outs of doing an oil change, apparently no matter what you should get the fill plug off first. It’s a beast and if you take the drain off first and aren’t able to get the fill plug out you’re dead in the water.

A great write-up on how to change out the drive seals where this leak is most likely coming from: http://www.thesamba.com/vw/forum/viewtopic.php?t=249639

And all the parts and tools to get you down the right path can be found here.

Or if I’m lucky it could just be the transmission breather hole is plugged.

Be sure to check that the atmospheric bleed in the top front of the trans is not blocked before starting on this job. If it is plugged (quite common) then it will make brand new seals leak. And if it is plugged and your seals are leaking, unplugging it will often cure the leaking without needing to change the seals.

More info on that here and here.