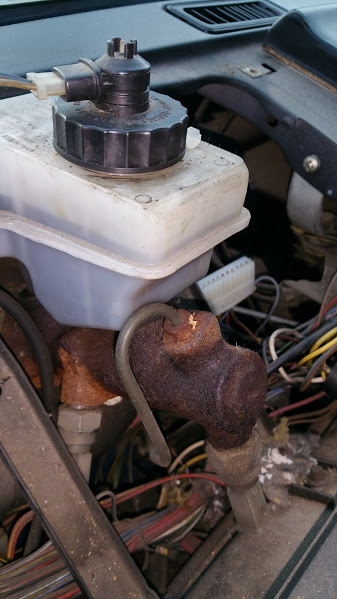
This fall I got the Vanagon into running shape and went to take it out for a test drive when I pressed in the brake pedal and it just slammed to the floor, no pressure nothing. I popped the instrument panel cluster and found a bone dry hydraulic system reservoir. I say hydraulic system because the clutch and brake cylinders are run off of the same reservoir. Before I fix the master cylinder I decided to go through the brake system and do some minor upgrades and check for any other potential issues. I started off with replacing all the brake lines with some nice braided stainless steel upgrades.
It’s a fairly simple process at least until you go breaking things.
Tools
- 14mm Open Wrench
- 11mm Flare Wrench*
- Lug Nut Wrench
- Jack & Supports
*You’re going to need a flare wrench in this application to get those 20+ year old brake lines separated, if you try to use an open wrench you run a high likely hood of stripping the hard line bolt, as I did.
Instructions
- Break Lug Nuts Loose
- Raise and Support Vehicle
- Remove Wheel
- Remove one end of flex connector from the hard line. I found it easier to remove the flex line closest to the vehicle first. Now you have options to quickly cap the brake hard line to not loose a bunch of fluid, or in my case I was replacing the master cylinder and I drained out all the brake fluid first for each individual line through the bleeder screw. If you do go with the cap it quickly option make sure to keep an eye on the reservoir level.
- Remove the other end of the flex line.
- Install the new Line.
- If you choose the quick cap option now would the opportune time to bleed that corner of the vehicle.
- Re-install the wheel.
- Rinse and repeat until finished.
Issues I Ran Into
I ended up stripping one of the 11mm fittings on the hard line located on rear trailing arm of my van. I ended up having to spend a couple hours with a small hand saw removing the old line and then another hour trying to get the slightly small 20″ hard line that I bought from a local autoparts store to work in this application. I had to replace the brake retaining spring due to me damaging it in the sawing action.
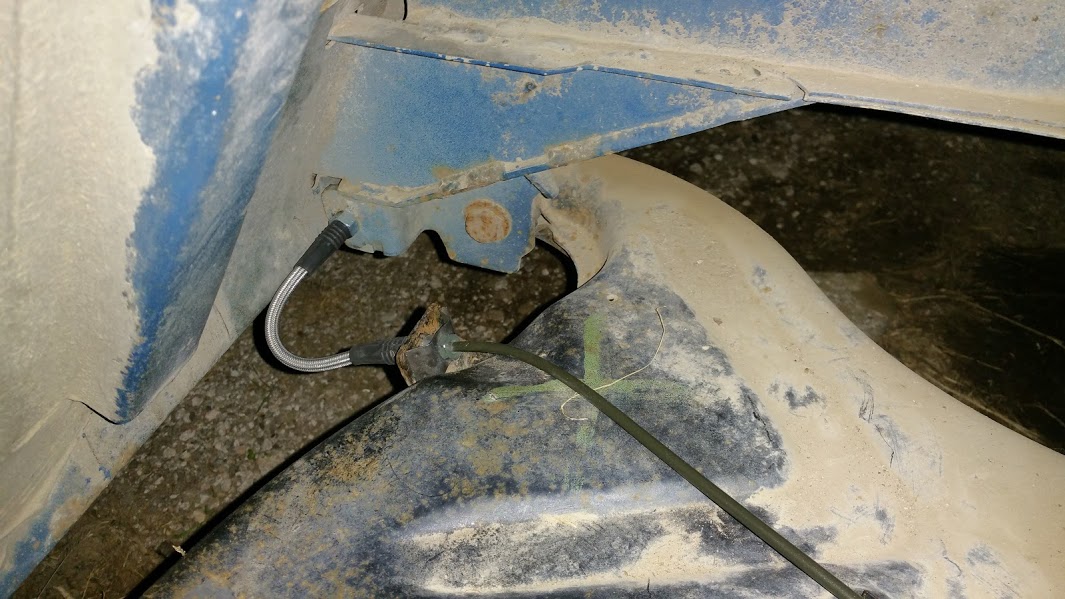
Here’s the shiny new line, clip, and flex line.
References