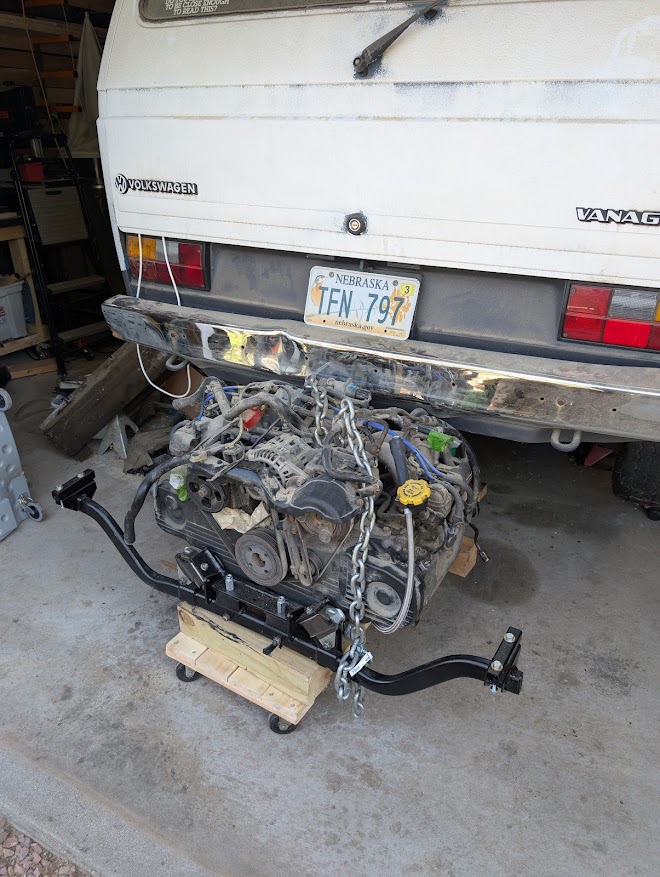
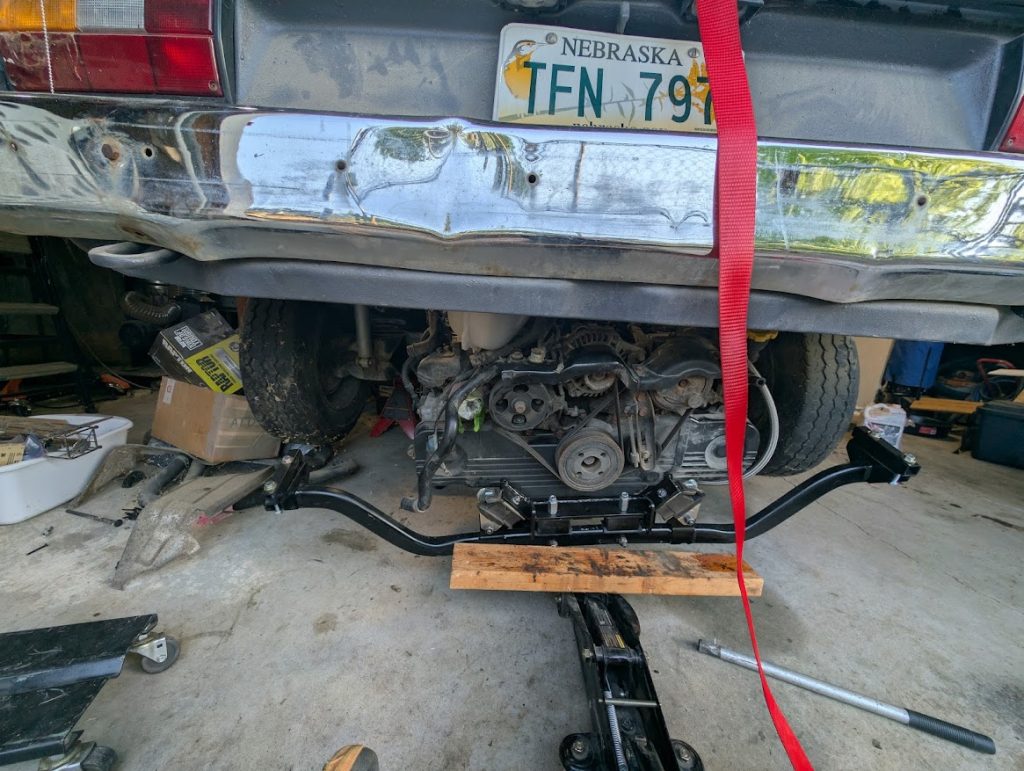
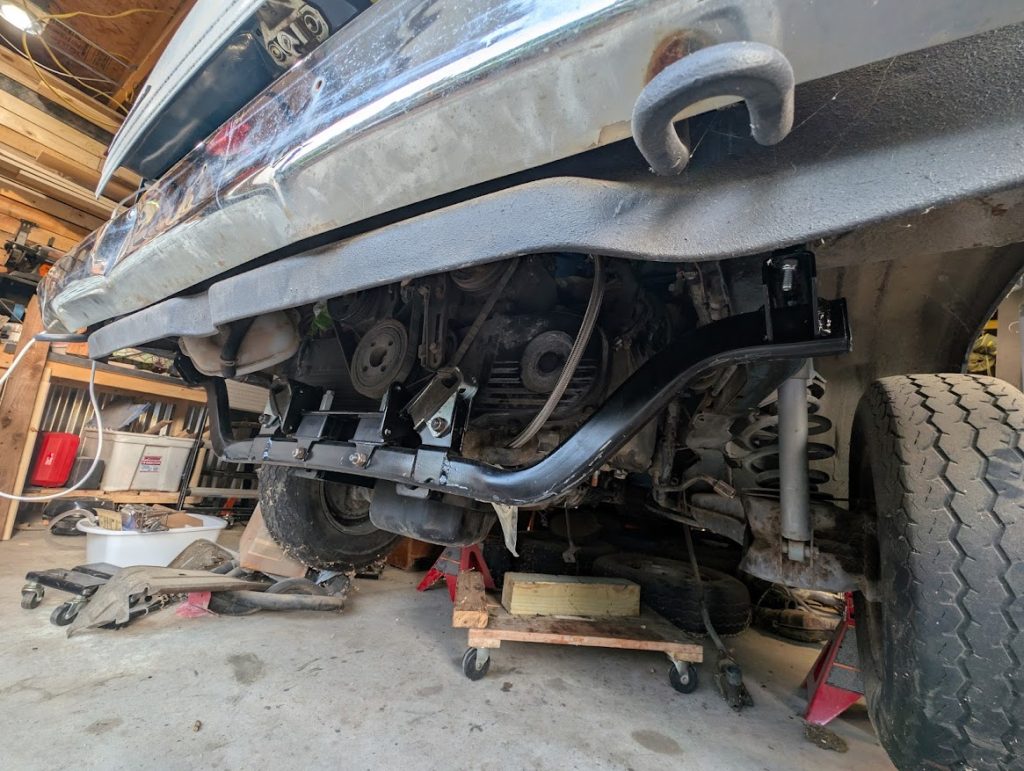
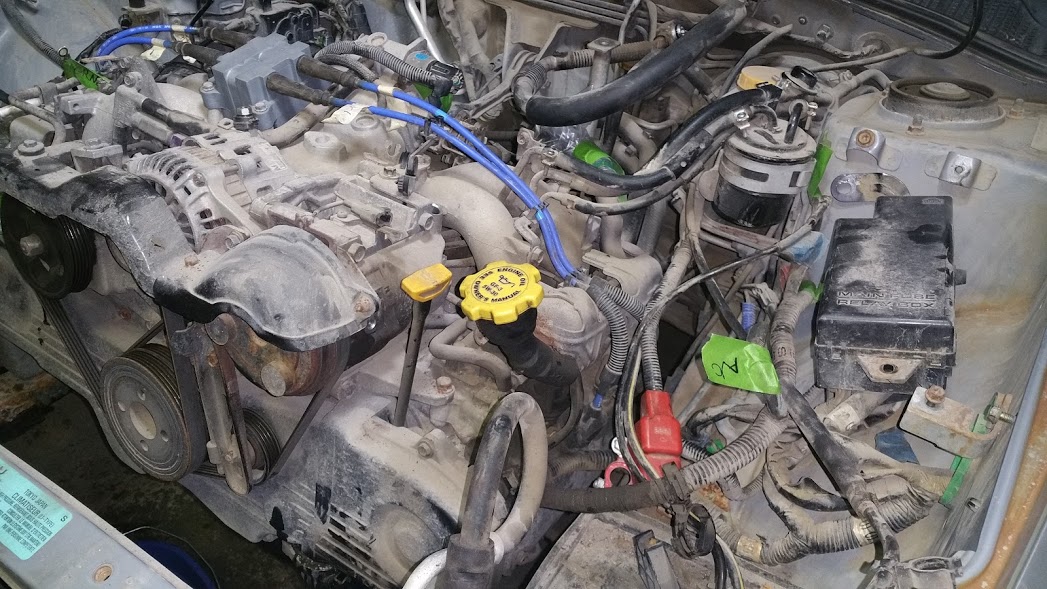
It’s in! What a glorious moment overshadowed by all the other work that still needs to get done to get this baby back on the road. It’s only intake, exhaust, cv joints, coolant, fuel, power steering, and electrical left.
The work continues on fixing a few outstanding issues on the transmissions before shoe-horning the motor back in. The first one being the fitting of some various components that made up the shift linkage. The old ones were worn, all the boots wore torn up and missing, and the grease was more dirt and sand at this point.
I ended up buying the replacements from Gowesty as that seems to be what all the other cool kids are doing. Part of the assembly process has you fitting on some tight boots onto some components. I have a quick tip for this; a small shaft with a rounded end allowed me to put the boot on the new ball quite easily. I ended up using the backside of a paintbrush. You come at it from the inside and just coax it onto the new ball.
I dig the green rubber, but only me and you will know it’s there.
Here it is fully assembled for the quick photo op. I removed the elbow after the photo as that will not be installed until a latter date.
Next up will be dealing with the axle seals on the transmission. Tracking down replacements for the two “Transmission Adjusting Ring Lock Caps” was not an easy task. Will be waiting for those until I can proceed with filling it back up with transmission fluid and finishing up this step of the process.
This past weekend brought about an opportune time to work on the van project as my part of the world sees a turn of nice weather. I ended up buying a new flywheel as cracking open this motor doesn’t seem like a super fun task after everything is together. This still left the problem of installing the appropriately sized pilot bearing that mates the Subaru flywheel to the Vanagon transmission.
I needed a press to get my bearing installed and so begins the hunt of trying to find a friend who had one laying around. I think I’ve needed to use a press once every five years. It is often enough where I almost consider giving up the space to one but inevitably it would just be another tool that would gather dust. I also considered just wandering into random auto repair shops with a twenty, a wink, and a nod and seeing if I could get it done that way. Luckily a buddy had one gathering dust that he let me use for all of a couple minutes to finish the task.
I returned to the workshop and installed the flywheel and clutch without issue. There isn’t much to it, but I do love the look of shiny new parts.
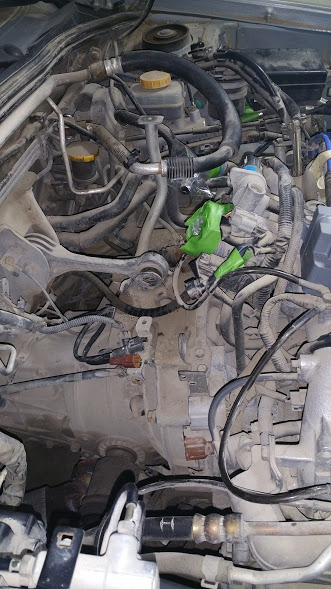
On to making the Vanagon transmission more accepting of the Subaru transplant. There are many options available to accomplish this but I chose to go with the Smallcar solution which has this cast bellhousing kit. Installation was fairly straightforward; you drain the transmission fluid, remove the old bellhousing and then install the new one.
Transmission fluid as black as my heart as my wife would say.
New bellhousing installed, just need to slap the throwout bearing in and then I can mate this to the motor. That’ll have to wait for it to warm up a bit, as I write this we had a lovely little blizzard hit the city.
Here is a video that walks through most of the process if you find your curiosity piqued.
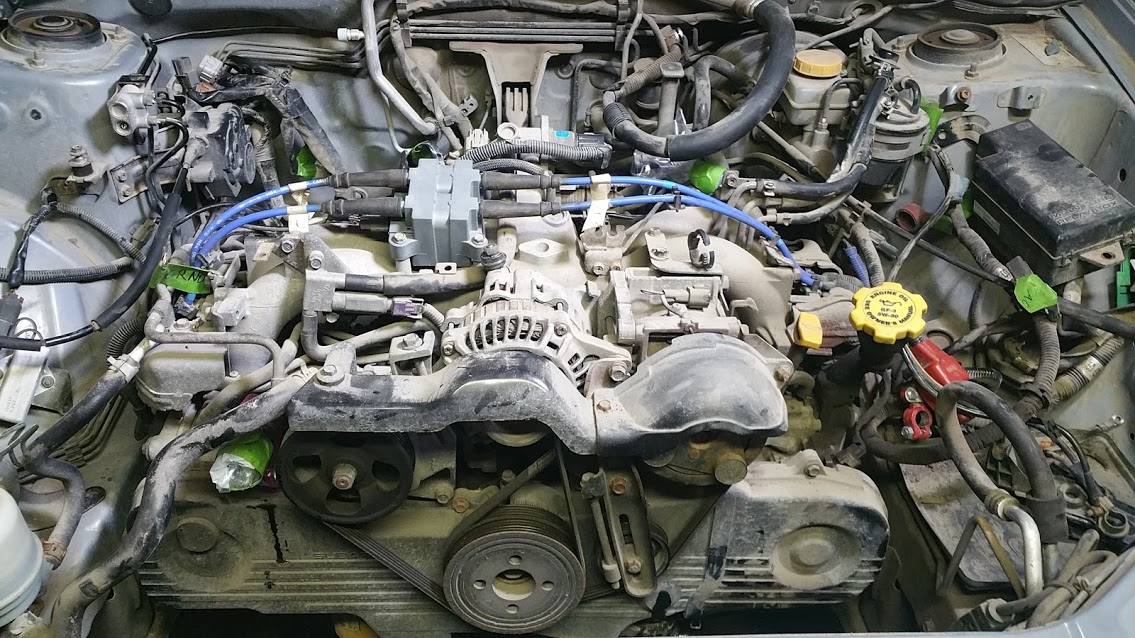
Today I worked on the opposite side of the mustache ride motor. And unfortunately ran into a road block when I could not find my 22mm socket. This is for wedging the crank bolt in place so the motor doesn’t turn when I go to remove the flywheel bolts.
This is with the clutch still installed. The new clutch and old vanagon transmission this will be mating up to requires a different sized pilot bearing. So the flywheel has to be removed to press in the new bearing.
The question is do you reuse the original flywheel or replace it? It looks pretty good, but it’s one of those things that if you don’t replace it when you could have you’ll be kicking yourself. Currently a new flywheel will run me about $160. Which is reasonable enough to justify just doing it now.
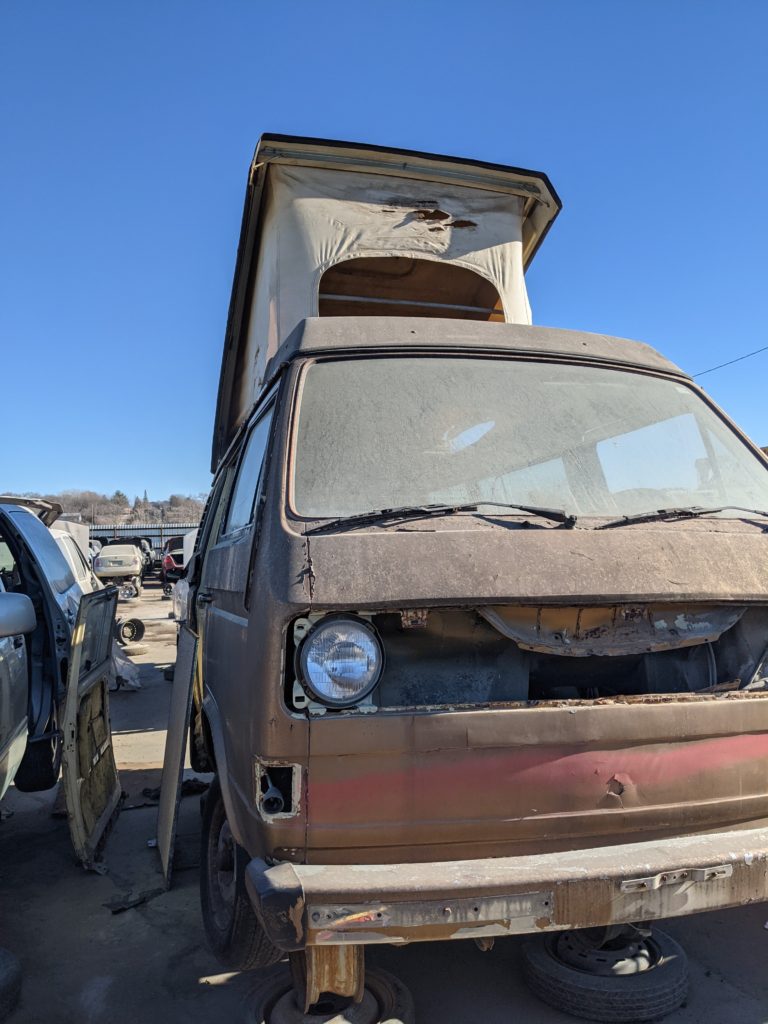
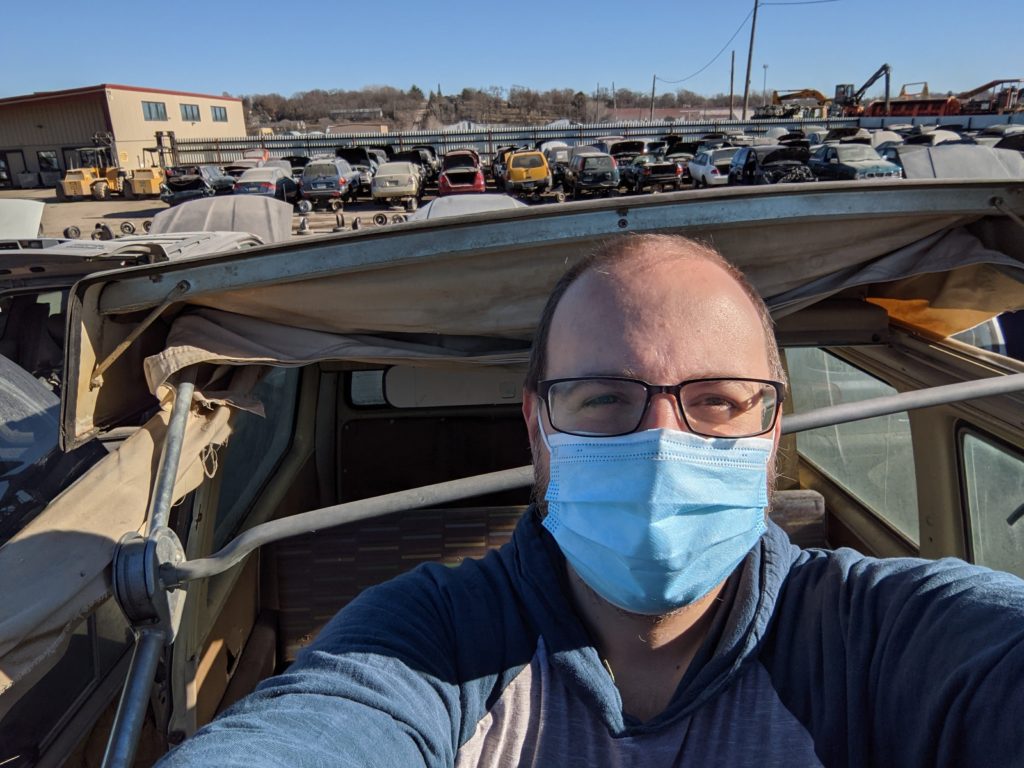
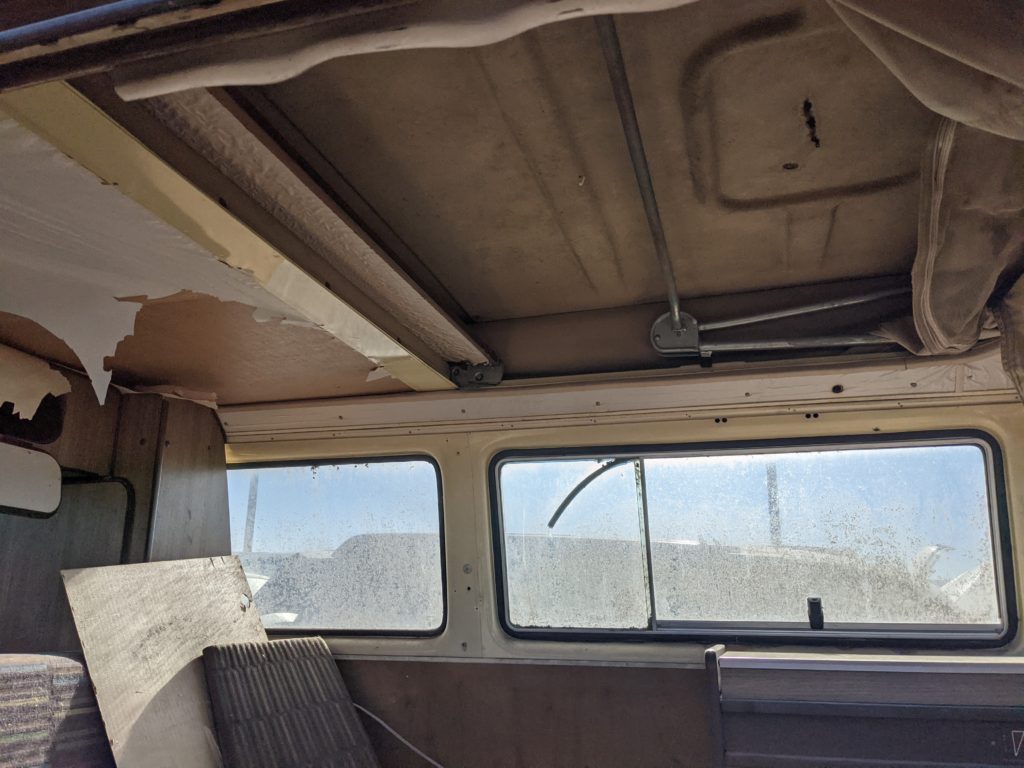
I have been keeping an eye out for a used pop top for my Vanagon almost since I bought my van. One showed up at my local junkyard and I was able to pull it with the help of a friend. I had no idea it was going to be that heavy, it’s fiberglass.
It’s in okay condition but I’ve taken on a bit of a project to fix up and install this in my old tin top Vanagon.
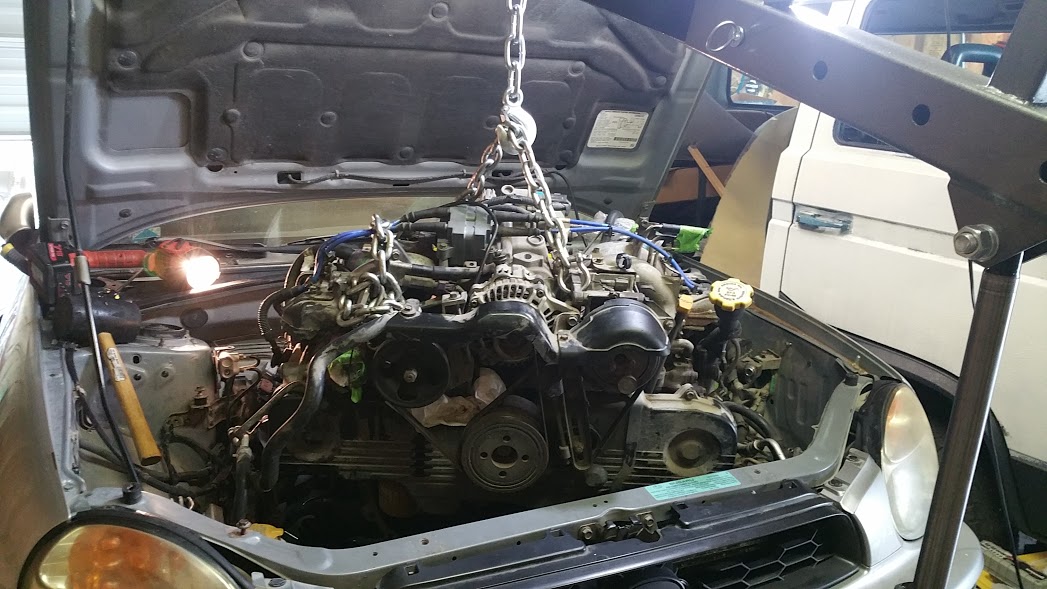
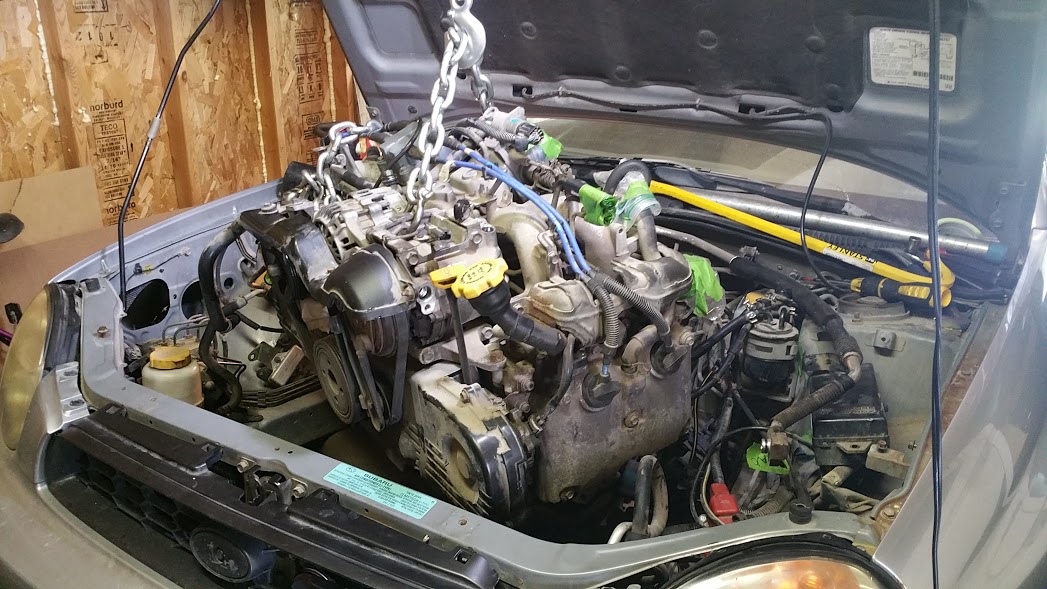
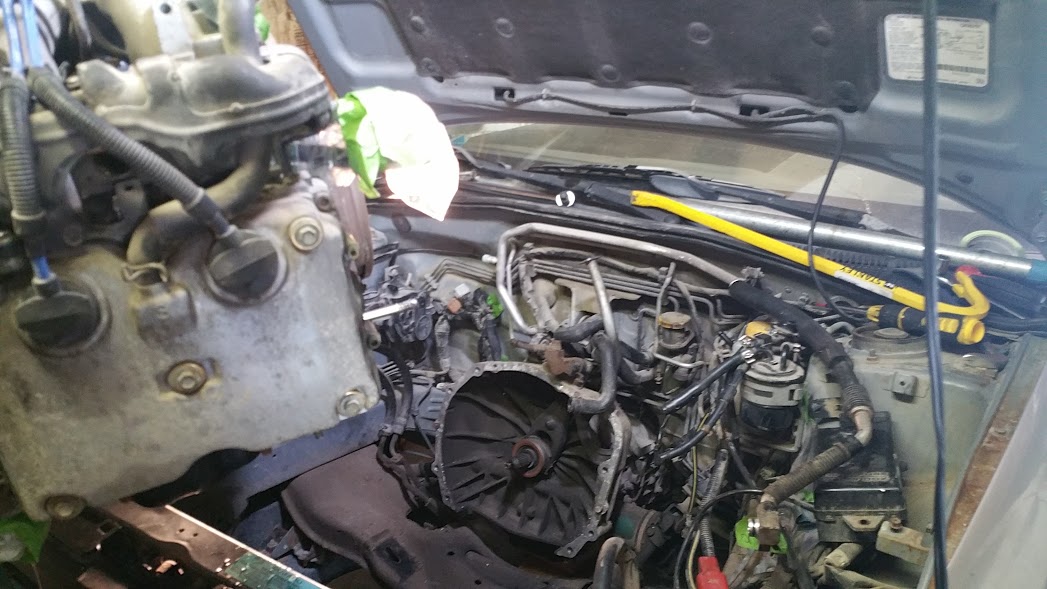
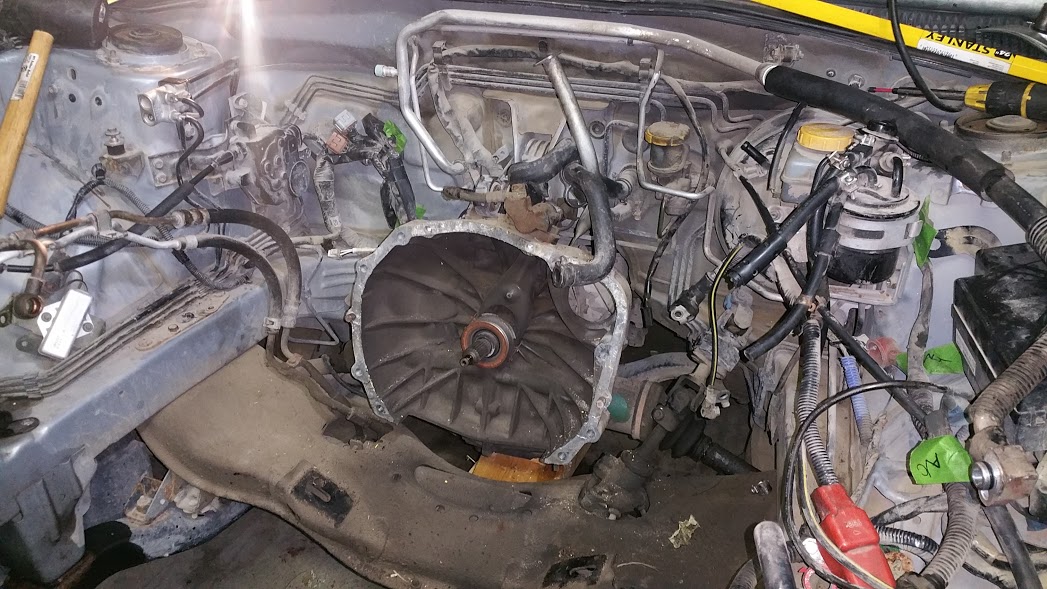
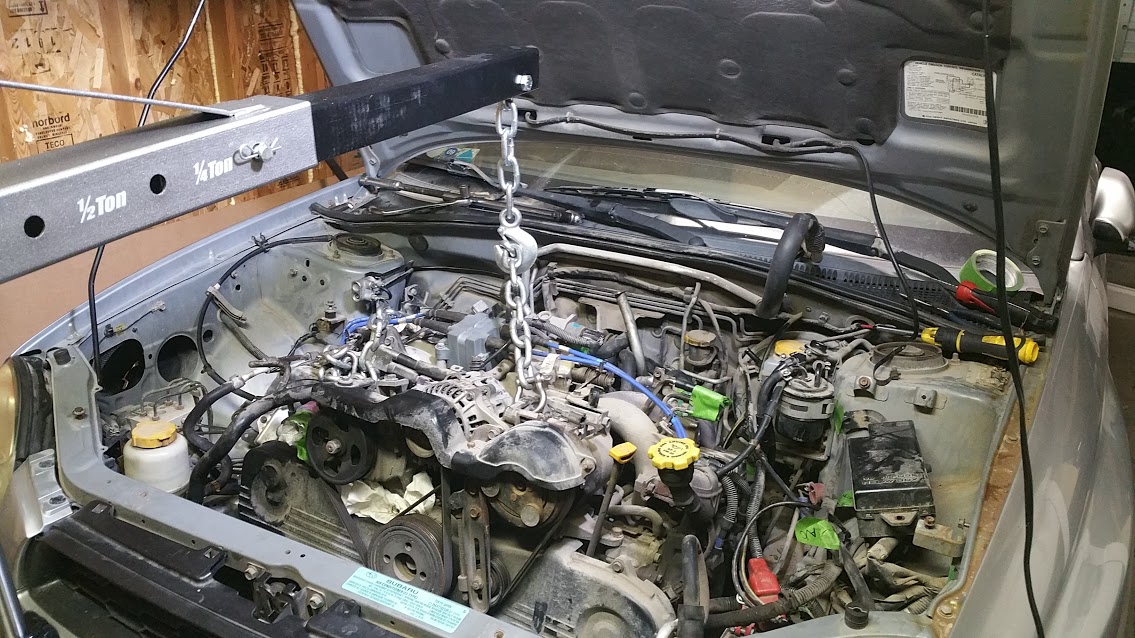
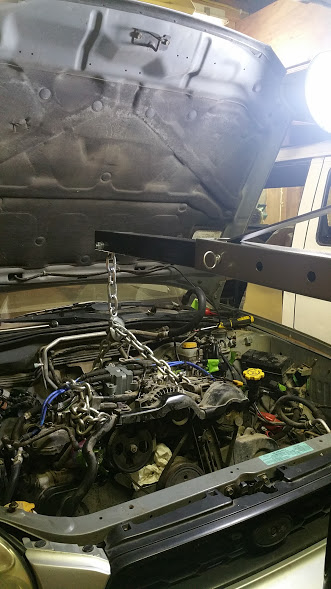
Still working on pulling the Subaru motor. Everything is completely disconnected, hoisted up but is refusing to peacefully come apart. This is a perfect excuse to buy a crowbar.
Working through the pulling of the motor on the old Subaru for the Vanagon re-power project this weekend. Hope to have it done soon so I can get rid of the shell soon.
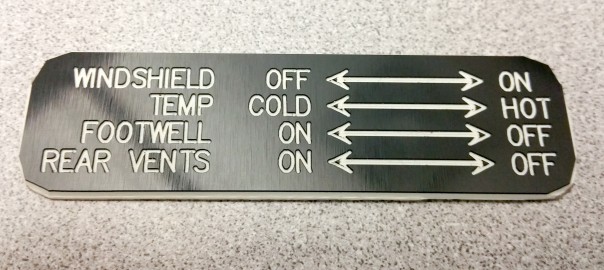
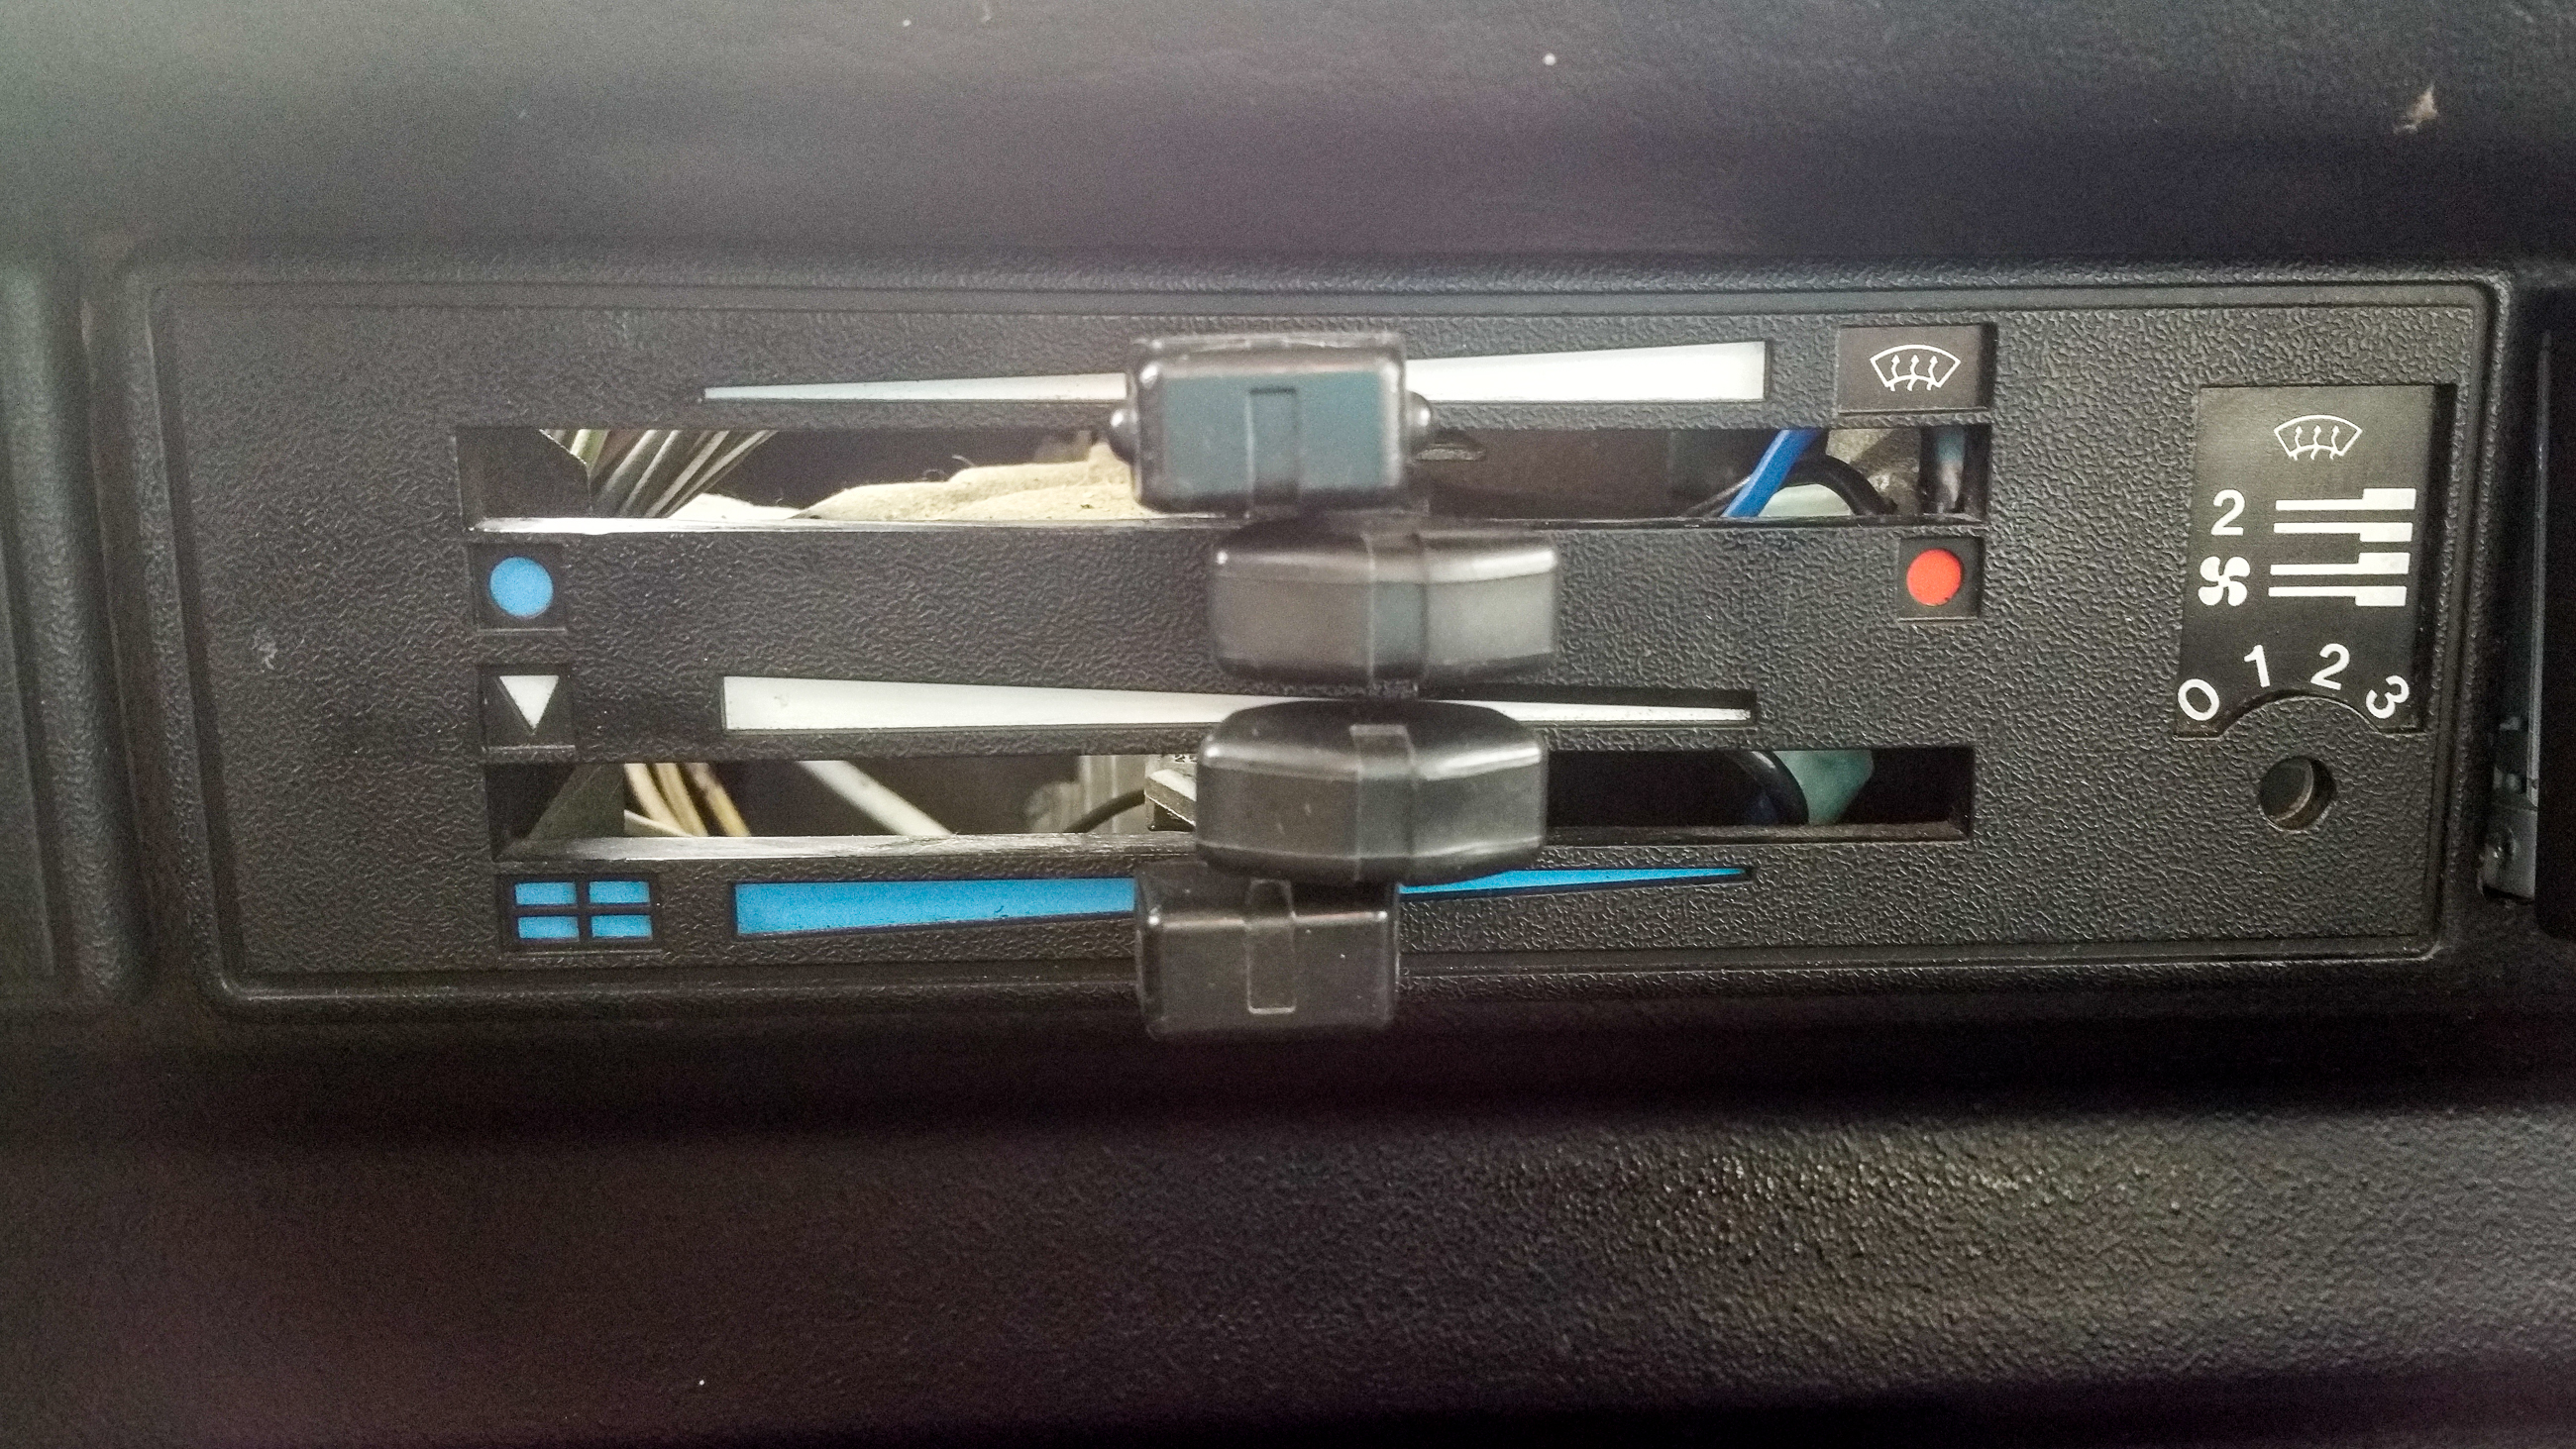
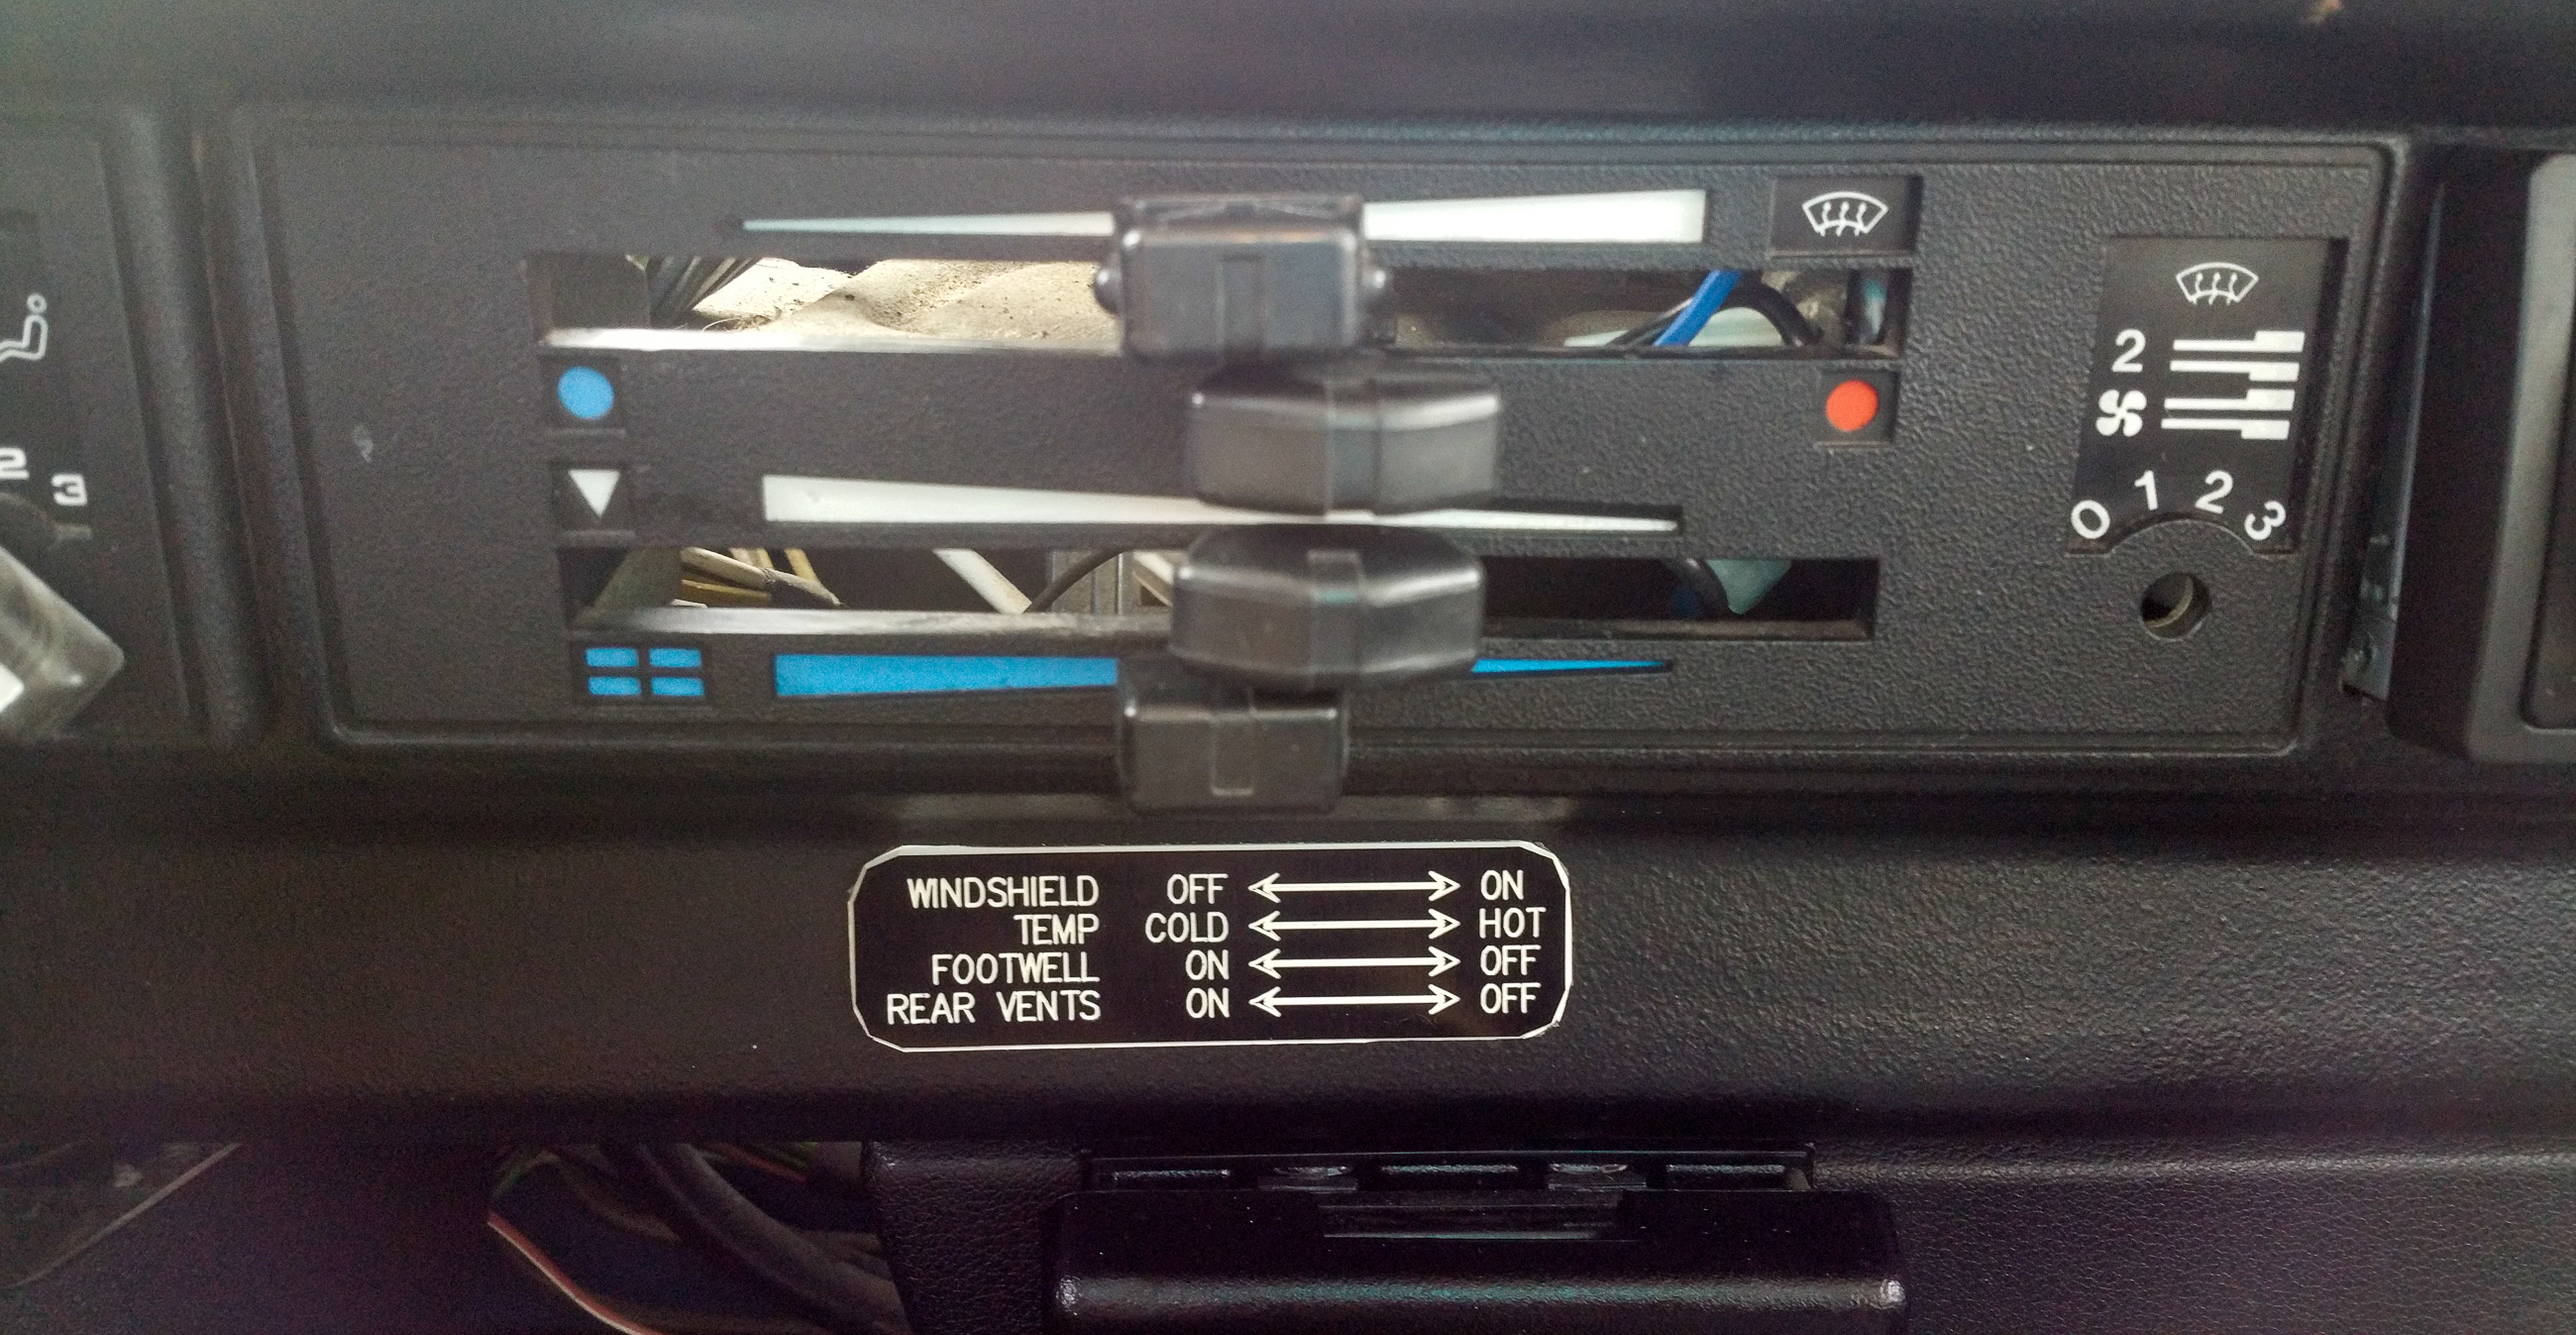
I ended up making a little reference plate for my Vanagon’s Air controls. For those of you who don’t know the controls that the Van has can be a bit cryptic and this little reference plate simplifies the matter. I got the idea from a post on The Samba and have included it in the references section bellow. The CAD file as well as a pdf of the nameplate can be downloaded as well. You just have to find a nameplate engraver and you’re good to go.